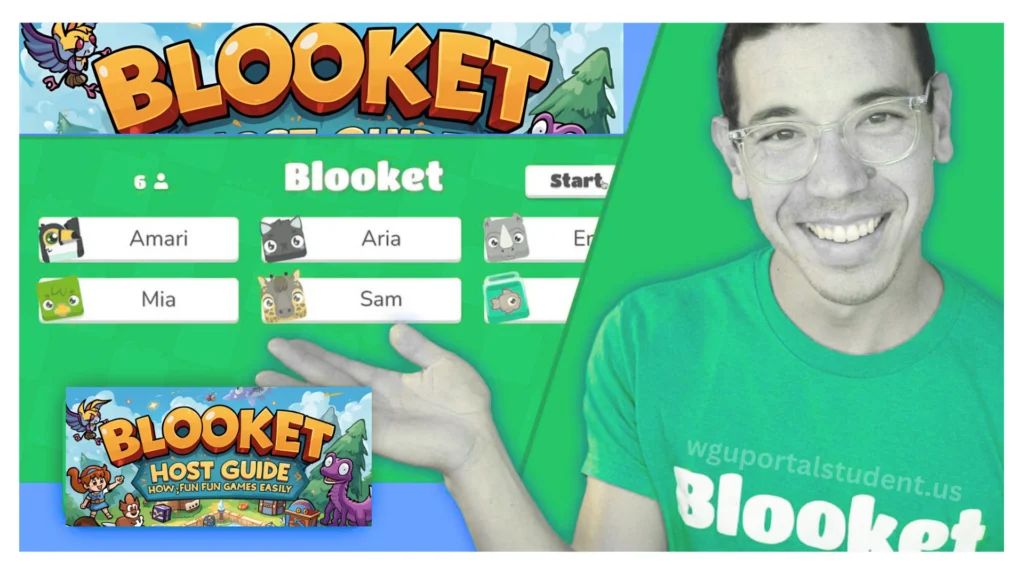
Blooket Host Guide: How to Run Fun Learning Games
Blooket is one of the most popular online learning platforms, blending quizzes with fun games that keep students engaged. Whether you want to host a Blooket session for your class, join as a player, or explore advanced options, this step-by-step guide covers everything you need to know. Game-based learning is rapidly growing, with platforms like Classroom 20x and Classroom 30x showing how fun and innovation can transform traditional teaching methods.
What Is Blooket?
Blooket is an interactive game-based learning platform. Teachers or trainers create question sets, then run live games where students compete to answer questions. Correct answers unlock in-game rewards, points, and chances to play mini-games like Gold Quest, Tower Defense, or Fishing Frenzy.
It is widely used in classrooms, remote learning, and even training sessions for businesses.
How to Join a Blooket Game
Before learning how to host Blookit, it helps to know how players can join. There are four easy ways:
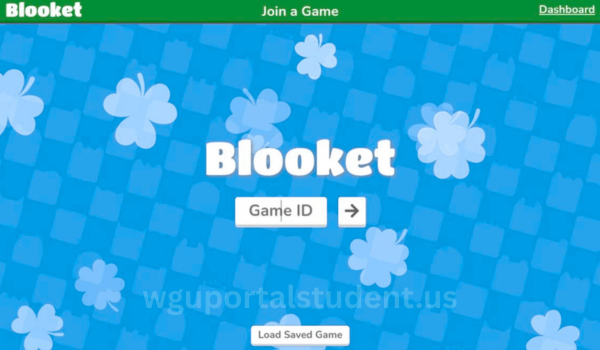
1. Using a Game ID:
- Visit blooket.com host or play.blooket.com.
- Click Join a Game.
- Enter the Game ID given by the Blooket host.
- Pick a nickname and avatar.
- Start playing instantly.
2. With a QR Code:
- Scan the QR code shared by the teacher or host.
- Log in if required, and join directly.
3. Through a Game Link:
- Click the link the bloket host shares.
- Sign in if needed, and you’ll enter the game.
4. By Signing Up or Logging In:
- Create a free account using Google or email.
- Select your role as teacher or student.
- Enter your age and start exploring.
Why Become a Blooket Host?
Being a Blooket host gives teachers full control of the game. Hosting allows you to:
How to Host a Blooket Game Step by Step
Here’s the complete process of how to host a Blooket session from start to finish.
Step 1: Create or Log Into Your Account:
- Go to blooket.com host and log in.
- If you don’t have an account, sign up—it’s free.
Step 2: Find or Create a Question Set:
- Use your own set under My Sets, or
- Browse the library of over 20 million public sets.
Step 3: Select a Game Mode:
- Choose from fun modes like Gold Quest, Café, or Tower Defense.
- Adjust settings like:
- Time-based or goal-based endings.
- Allow or block late joining.
- Use random names for players.
- Enable student accounts for XP and tokens.
Step 4: Share the Game with Players:
Players can join by:
- Scanning a QR code.
- Entering the Game ID at play.blooket.com.
- Clicking a direct link from the blookethost.
Step 5: Start the Game:
Click Start and the fun begins. Students play on their devices, while you display the leaderboard.
Step 6: End the Game and Review Results:
- Games end automatically or when you end them.
- Show standings and review detailed results.
- Use reports in your Blooket dashboard host panel to assess performance.
Benefits of Hosting a Blooket Game
Being a Blooket host a game isn’t just fun—it’s highly effective for learning.
Common Issues and Quick Fixes
Blooket Free vs Blooket Plus
Frequently Asked Questions
Q1. Can I host a Blooket on my phone?
Yes, the blookit host option works on any browser, even mobile.
Q2. Do I need a premium account to host a Blooket game?
No, you can host a blooket for free. Premium only adds extra features.
Q3. How many players can join a game?
Free accounts allow 60 players, while Plus supports up to 300.
Q4. Can students join without accounts?
Yes, they just need a Game ID or link from the blooket host a game option.
Q5. What devices are supported?
Any device with a browser and internet access.
Final Thoughts
Now you know exactly how to host a Blooket game. With just a few clicks, you can turn lessons into fun, competitive, and interactive experiences. Whether you are using the blooket dashboard host tools in a classroom or running games for friends, this platform makes learning enjoyable.
Experiment with different question sets and game modes, and soon you’ll be a pro at using blookethost for all your learning sessions.